Editing the Course Homepage
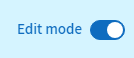
To edit the course website, click on the "Edit mode" button located at the top right corner of the screen. When the slide button is blue, the "Edit mode" is on.

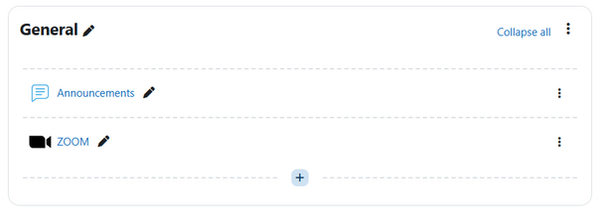
When the "Edit mode" is on, three-dot buttons appear. These buttons allow editing topics or items. Some of the item types: forum, file, quiz, assignment, and more.
Adding an activity or resource
1. Enable "Edit mode" on the upper right corner of the page.

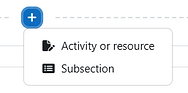
2. Select a topic, click on then select "Activity or resource".

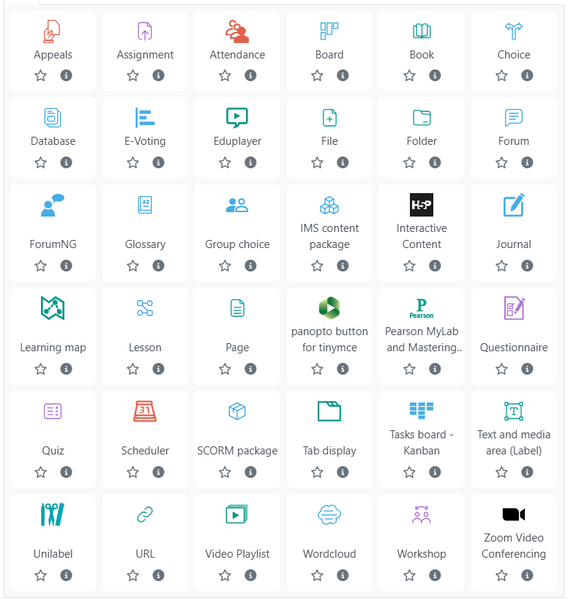
3. Select the item you want to add in the "Activity or resource" pop up. Click on the for more information.
Adding or deleting a topic
1. Enable "Edit mode" on the upper right corner of the page.
2. The "Add section" button appears at the bottom of the page, after the last topic:

3. Within each section there can be a subsection. Click on then select "Subsection".
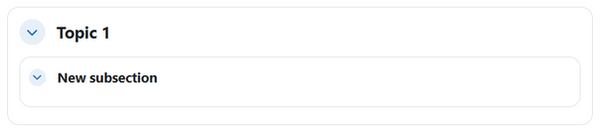
The topic and subsection will appear like this:
4. To delete a topic or a subsection, click on on the right, and select "Delete".
Renaming a Topic or Item
1. Enable edit mode on the upper right corner of the page.
2. Click the pencil icon ( ) next to the section or item to rename it. Then, type or paste the new name, and press Enter to finish.

Moving a Topic or Item
Option A – Dragging
1. Enable "Edit mode" on the upper right corner of the page.
Drag the resource or topic and place it between other topics by clicking on it when the moving icon
( ) appears.
Note: If the different topics are untitled, their corresponding number (Topic 1, Topic 2..) will automatically change based on its order.
Dragging sections:
Dragging items:
You can also move them by dragging the desired topic or item in the course index (on the left of the page):
Option B - Clicking on the Edit button
1. Enable "Edit mode" on the upper right corner of the page.
2. Click on the button in the subject line, on the right side, and click on "Move".
3. Click on the placement you want your item or section to be in.

Editing Topics
1. Enable "Edit mode" on the upper right corner of the page.
2. Click on in the subject line, on the right side.

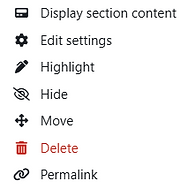
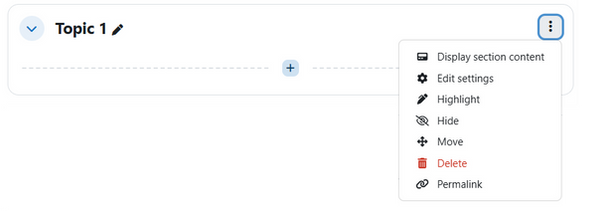
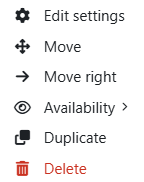
3. Clicking on next to the section opens a menu of options that include:
-
– this will display the content of the section:

-
– this will redirect to a page to edit the name, summary, and access to the section.

-
– this will highlight the section on the course homepage and index. This option can be used to refer the students to an important section or the week’s lesson, for example.
On the homepage:

In the course index:

-
– this will change the visibility of the section in the student’s interface.
Clicking on "hide section" allows you to hide an entire topic. When a topic is hidden, students cannot see the topic and the contents included in it.
To make it visible to students, either:
1. Click on and select "Show"
Or:
2. Click on "Hidden from Students" and then "Show on course page"


-
– this will erase the section. The items in the section are moved to the recycled bin.
-
– this will generate a direct URL link to the topic and all its content.
Editing Items
1. Enable "Edit mode" on the upper right corner of the page.
2. Click on in the item line, on the right side.
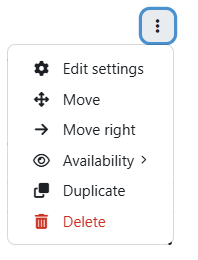
3. Most of the settings are the same as for Topics, except for:
-
– this move the indentation of the the item to the right.
-
– this changes the availability status for students, including:

Students will be able to see this item on the course website
Students will not be able to see this item on the course website
Students will be able to see this item on the course website but only through other resources, such as Learning Map, or through a link
Adding images to the course homepage
1. Enable "Edit mode" on the upper right corner of the page.
2. Drag the picture from the folder on your computer.
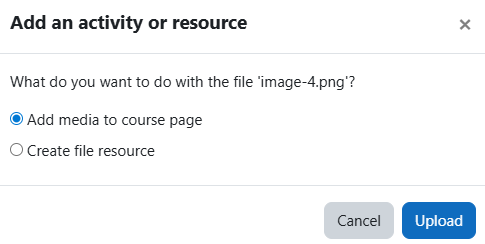
3. Choose the option you prefer in the pop up window that appears and click "Upload":
-
Add media to the course page – the image will appear on the course page.
-
Create file resource – the image will appear as a link file on the course page.
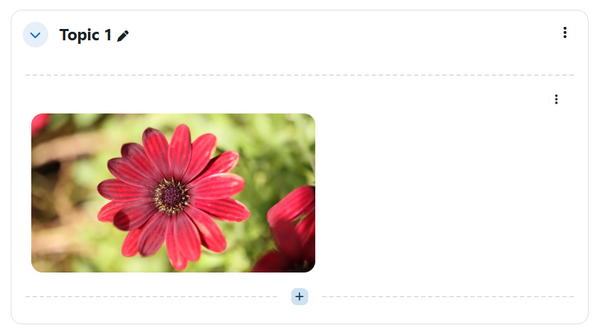
This is how the picture will appear on your course homepage, by selecting "Add media to the course page":
