Teaching & Learning Tools in

The Microsoft 365 Cloud portal is available for lecturers and enables the creation of educational content and activities.
Some of the most known applications include Office software, available on the computer and on the Cloud, including: Word, Excel, PowerPoint, Outlook, OneDrive, and Teams.
There is also a large variety of tools used for various purposes.
This guide will cover suggested uses of Microsoft 365 tools for teaching and learning purposes.

There are a number of ways to access the Microsoft 365 application:
מספר דרכים להגיע אל רשימת היישומים של Microsoft 365:
1. On the homepage of an Edge explorer, click the button .
2. In Outlook, click the button.
3. Directly through the Microsoft Application webpage.
This guide includes:
Interactive Presentation with a Quiz
Microsoft Forms enables the creation of various types of quizzes and questionaires and their display, along with the results, in PowerPoint. This tool encourages the students' presentence and participation during distance or in-class learning.
Ideas for use:
-
A teaser to open the class for mental stimulation
-
Starting a discussion
-
Brainstorming
-
A questionnaire to show an understanding, a stance, or reflection
-
Collecting clarification questions from students on a lecture
Access an example from a student's perspective through this link or this QR code:

In order to ensure that all students can take part in the questionnaire, it be must set for "Anyone can respond" (Instructions)
.In order to identify the respondents, add a "Text" question for identification, and mark it as "Required".

Adding questionnaire to presentation
1. Open a pre-existing or new PowerPoint presentation, preferably on a computer and not the Cloud.

2. Click on "New Slide" where the questionnaire will be embedded.
3. On the upper menu, click on and then select "Forms".

4. Click on either "New Form" or "New Quiz" to create a new questionnaire.
As the form will open in an Internet browser, ensure you are connected to your Microsoft account.

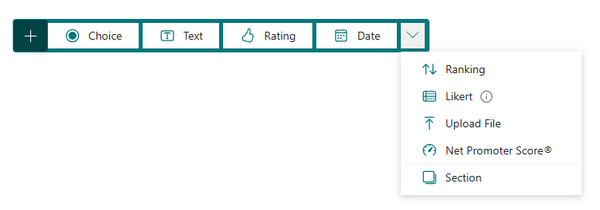
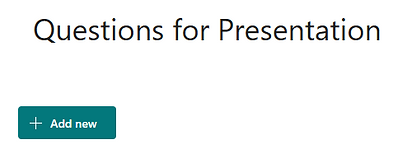
5. Click on "Add new" to add a variety of questions, such ass choice, text, rating, and more.
Enabling "Anyone can respond" setting
6. Click on the three dots in the upper-right corner and select "Settings".
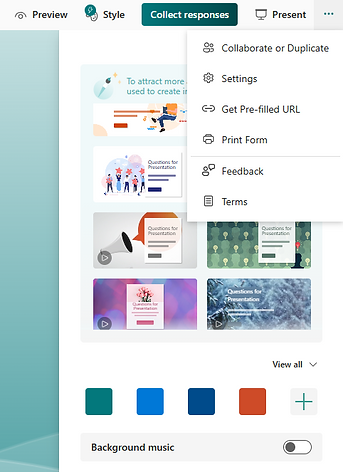
7. In the section "Who can fill out this form", select "Anyone can respond".
In order to identify the respondents, add an identification question.

8. Click on "Style" at the top of the screen and set the design or background for the questionnaire. A personalized background can also be selected.


Facilitating the questionnaire in class
1. Open the PowerPoint presentation from OneDrive. On the questionnaire slide, select "Present for Interactive meeting".

2. Students will scan the QR code which will give them direct access to the questionnaire.
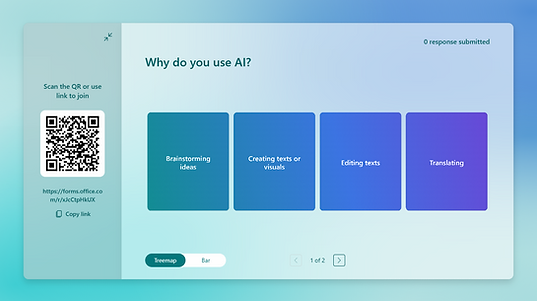
3. It is possible to scroll through the different pages and see live results.

Creating a teaching unit with a quiz on Moodle
Instructors can embed a questionnaire from Microsoft Forms using in Moodle using the "Page" resource, allowing students to gain information and interact with it. This way, students could answer the questionnaire at the end of the unit, and the instructor could collect and analyze the responses.
In addition, the questionnaire can also be made into a quiz, allowing students to revise their knowledge and see their results live.
Ideas for use:
-
A questionnaire to show an understanding, a stance, or reflection
-
Collecting clarification questions from students on a lecture
-
A quiz for self-study that includes a results/answers page.
To view an example from Moodle (in Hebrew), click here.
1. Access the Microsoft Office website.
2. Create an empty Quiz/Form or choose a pre-made template (quiz, registration, feedback, research, and more).

3. Click on "Add new" to add a variety of questions, such ass choice, text, rating, and more.
4. Click on "Style" at the top of the screen and set the design or background for the questionnaire. A personalized background can also be selected.
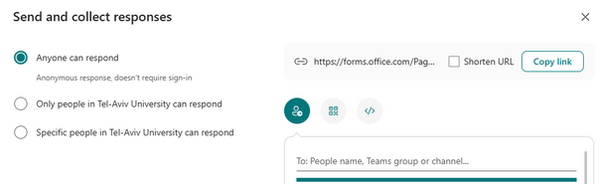
5. Once the questionnaire has been edited, click on "Collect responses".
6. In the "Send and collect responses", choose "Anyone can respond". In order to identify the respondents, add an identification question.
7. Click on the "</>" icon to copy the embedding code. This code will be pasted in Moodle.

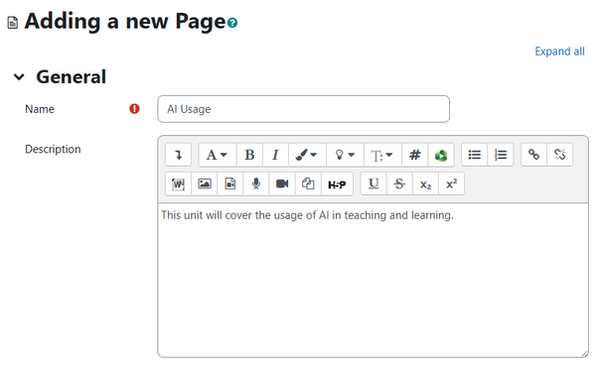
8. Enter the course website on Moodle and add a "Page" resource.

9. Add a name and description to the resource.
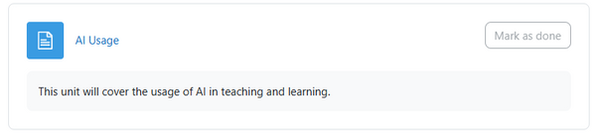
It is possible to display the description of the resource on the main page.
If checked, the resource will look like this:
10. In the "Content" section, add any necessary instructions or information that will be displayed for the students.

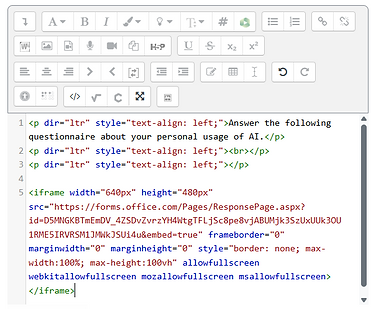
11. In order to add the embedding code, click on the button in the toolbar, then click on the "</>" in the extended toolbar.

12. Press enter to create a new code line, then paste the embedding code.

13. When finished, click on "Save and display".

14. The students will now be able to access the Page resource and answer the questionnaire.
