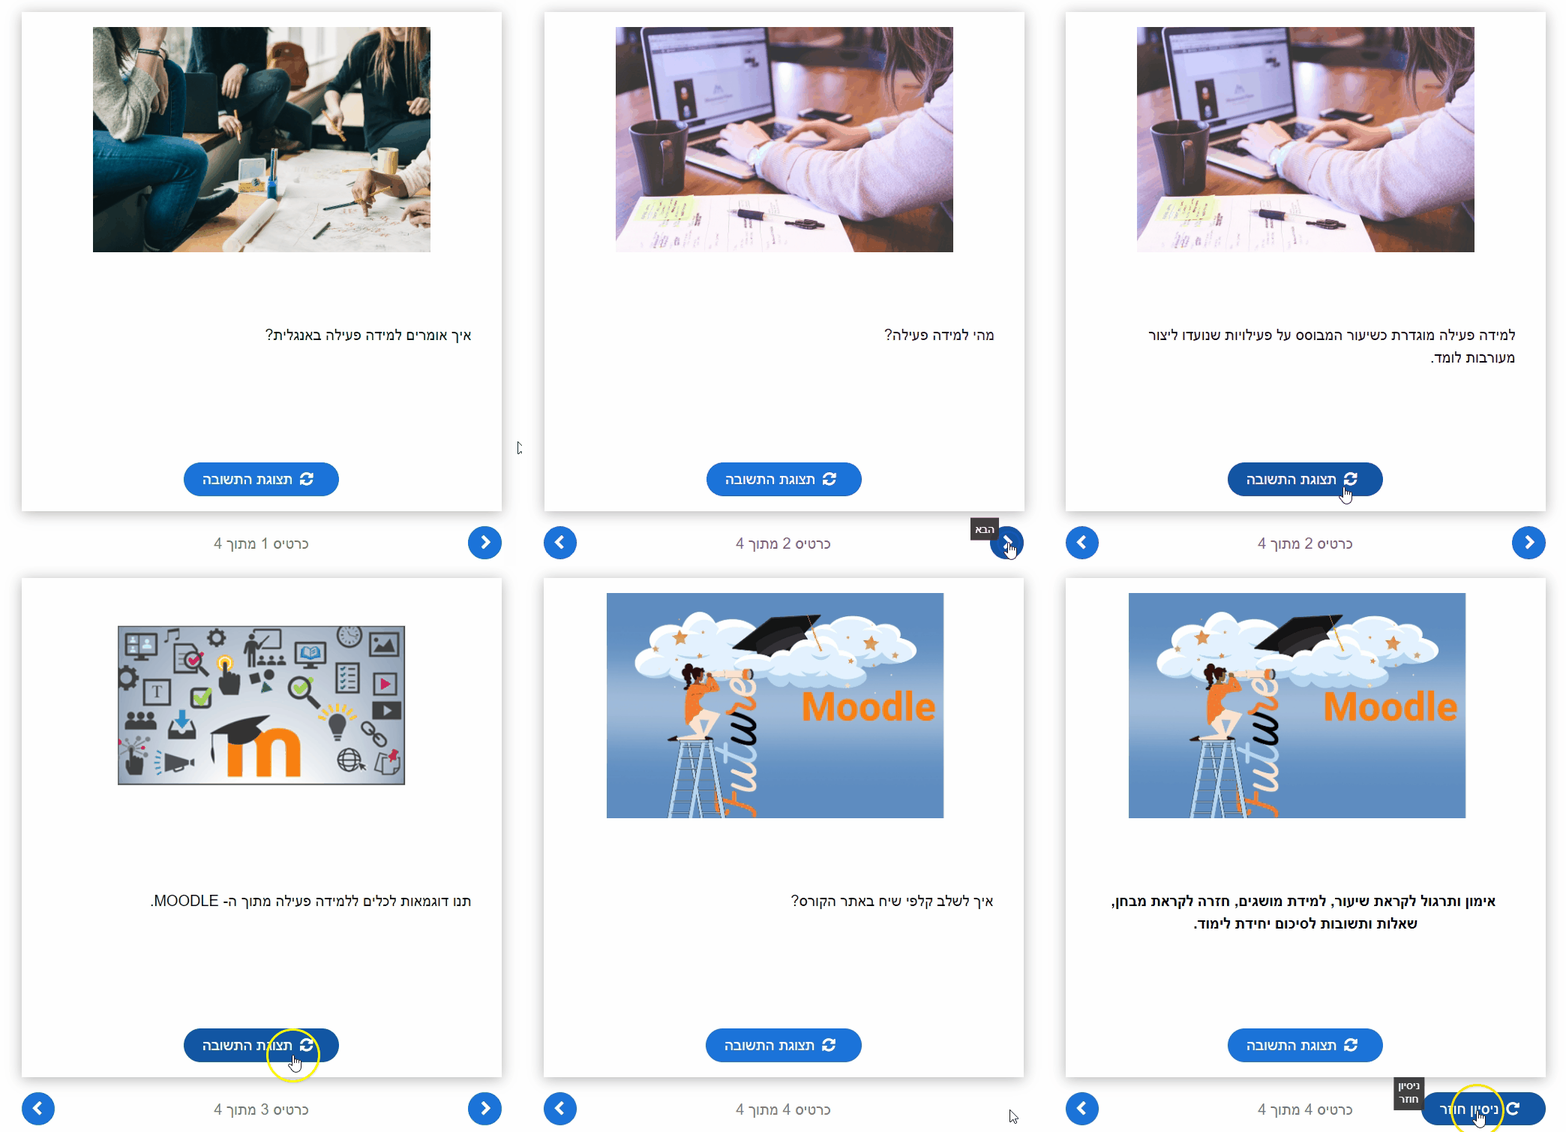
Dialogue Cards in H5P
In Moodle, you can create Dialogue cards with the H5P Interactive content activity.
A Dialog card activity allows the teacher to create a set of interactive cards that display different information on each sides of the card.
This activity can be integrated into learning activities that include questions and answers, a list of concepts and their interpretations or meaning, a problem and a solution, and more.

What’s in this tutorial:
Please note:
When using Hebrew and English together in the content of the questions, there may be disruptions in the alignment of the text.
In this case it is recommended to save the question as an image and upload it to the desired interaction.
Setting up Dialog cards using the H5P activity
1. Turn on Edit mode
2. Choose a topic, click on and choose “Activity or resource”
3. Choose “Interactive Content”.


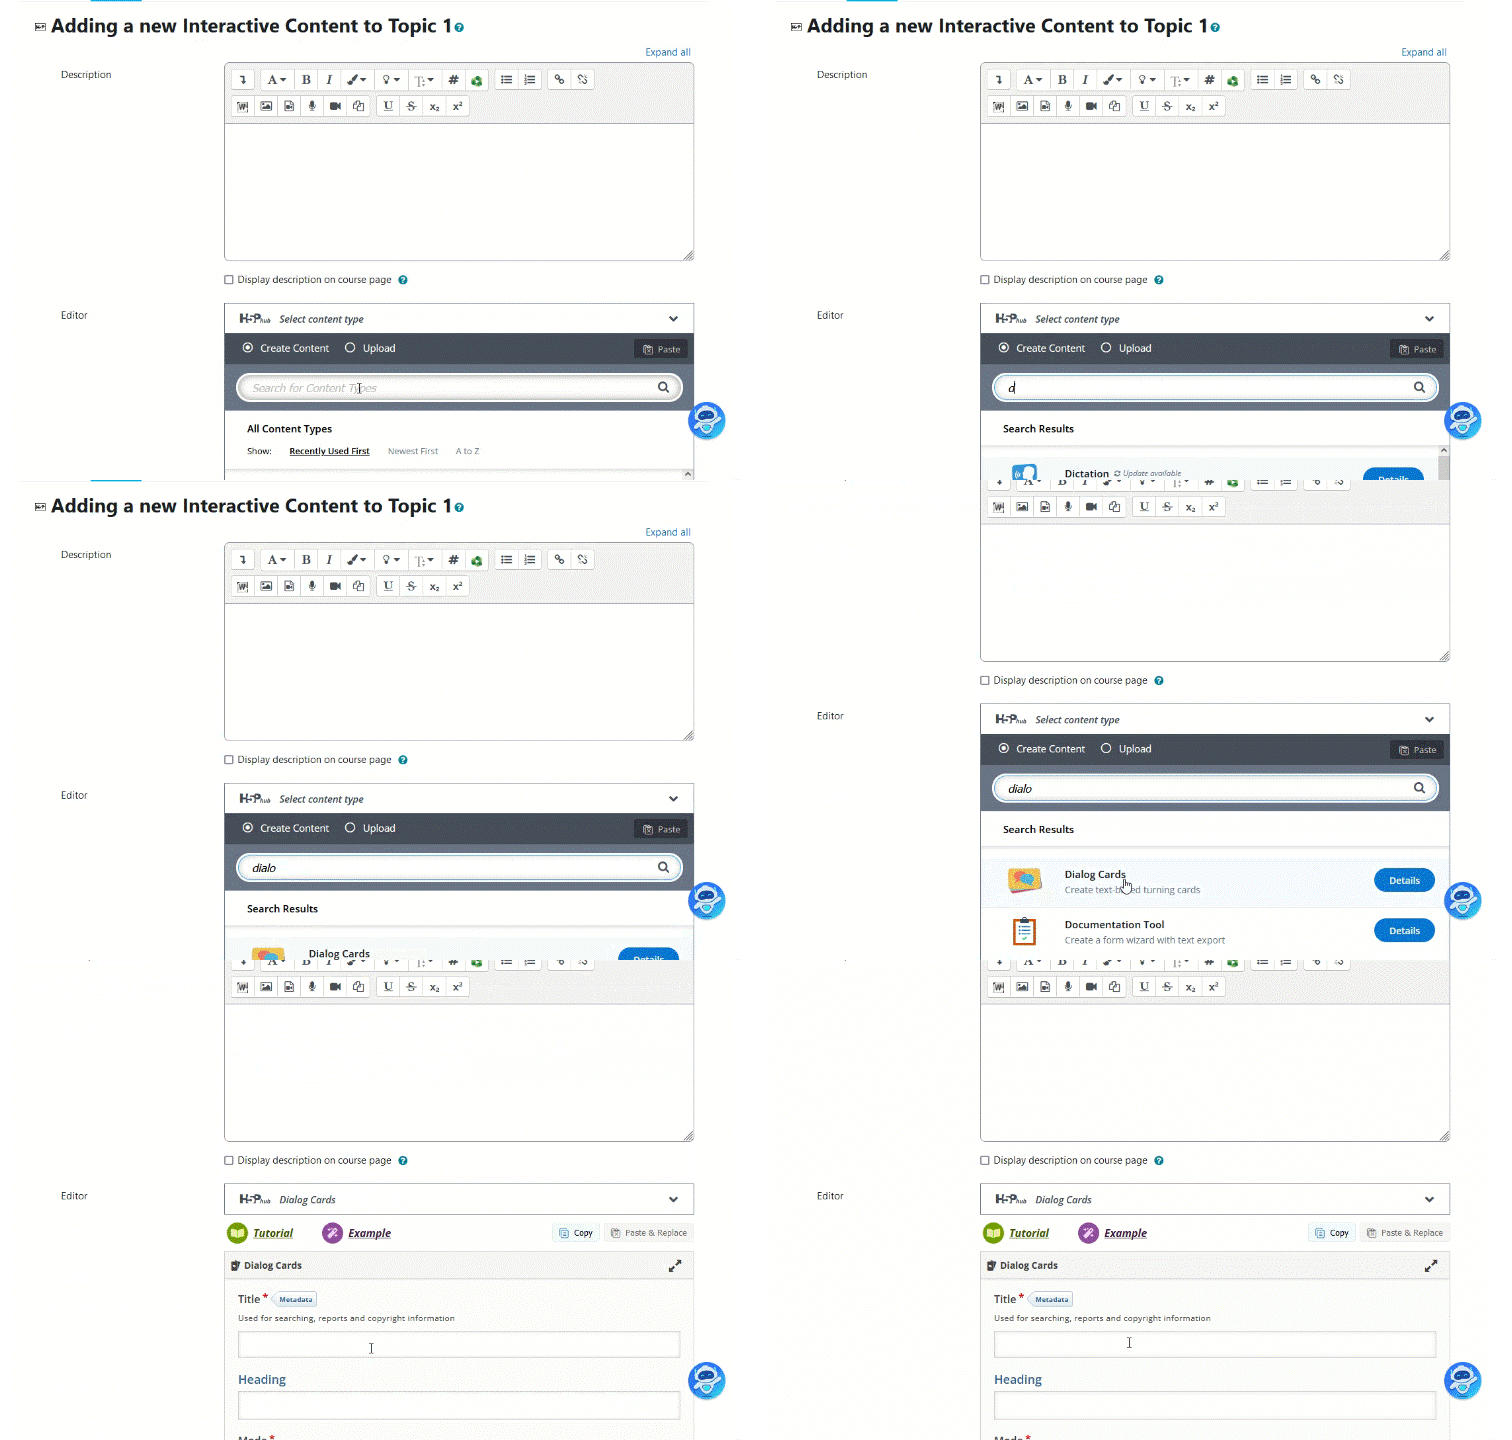
4. In the window that opens, in the scroll box in the "Editor" section, select "Dialog Cards".

5. Type in the name of your activity in "Title".
If you want a heading to be displayed inside the activity, you can add it to "Heading".

6. Set the card display mode.
-
Normal mode - Students can go through the cards using the arrows only once.
-
Repetition mode - Students will be able to view the cards again and again.

7. Write a description for the activity.

Adding cards in the activity
1. In the Dialogs section, define the first card.
Define a question or hint that will appear at the top of the card.

2. Define an answer that will be displayed after the card is turned over, i.e. on the other side of the card.

3. It is recommended to add a media such as an image or an audio file.

Click +Add to add an image.
Press + to add
sound files.
4. You can even add advice or a hint that will encourage the students to think.
Tips that will appear at the top of the card.
Tips that will appear after revealing the answer.

5. Click on the +Add Dialog to add another card.

6. To save, click on "save changes" and display them. The activity will then open in view mode.