Import content from another course site
Content can be copied from website to website (from previous years or from the current year). The import process will copy the content and add it to the corresponding topics.
The content is imported without the students' details, such as names, grades and interactions.
What's in this tutorial:
Importing a course website
1. Go to the course website to which you want to import the content.
2. Click on "More" in the upper management bar of the course. In the menu that opens, click on "Import".

3. Choose the academic year from which you want to import the course.

4. Select the course you want to import.

5. If you want to import all the content of the site, click on the "Import all course content" button.

6. Now a confirmation window will open. Click on "Continue" to begin the import (the process may take several minutes).
Importing specific items
1. Go to the course website to which you want to import the content.
2. Click on "More" in the upper management bar of the course. In the menu that opens, click on "Import".

3. Click the school year from which you want to import the course.

4. Check off the course you want to import.

5. If you want to import part of the course content, click on the button "Import only specific content".

6. If you want the imported course settings to be transferred, select "Yes" in the "Import original course settings" field.
For example: if the original course is in "grid" format, when "Yes" is checked, the import process will update the format settings from the original course to the new website.

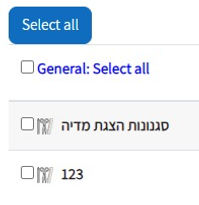
7. Check off the items you want to transfer to the new course.
-
To select all contents - click "Select all"
-
To select an entire topic - check the box next to the topic title
-
To select a single item - check the box next to the item

8. Click on the button .
The import will now begin (the process may take a few minutes).
Importing items using the "Sharing Cart" block
"Sharing Cart" block enables duplicating items into a personal library and is an easy way to import resources and activities between courses in the same academic year.
In addition, items can be collected and saved in the "Sharing Cart", and it can serve as a library of course items that are frequently used and available for duplication.
The "Sharing Cart" is only available to those with editing permissions and the content uploaded to the "Sharing Cart" is only available to the user. That is, when there are several lecturers in the course, each will be shown the items they uploaded, not items of another lecturer.
The activity will be copied without the content uploaded by the students.
Adding "Sharing Cart" block to the course
1. Enable "Edit mode" on the upper right corner of the page.
2. On the right menu, click on “Add a block”

If you don't see the menu, click the arrow on the right

3. Select "Sharing Cart"

4. This is how the "Sharing Cart" block will look, in the block area on the right.
Please note: The block can only be seen when “edit mode” is enabled.

After the “Sharing Cart" block has been added, it will remain available to you on Moodle permanently (unless you manually remove the block)
Copy items to the "Sharing Cart"
1. To copy Item: Click on the basket icon next to the item you want to copy
To copy entire topic: Click on the basket icon next to the item you want to copy

2. A confirmation message will appear, click “Confirm” to continue.

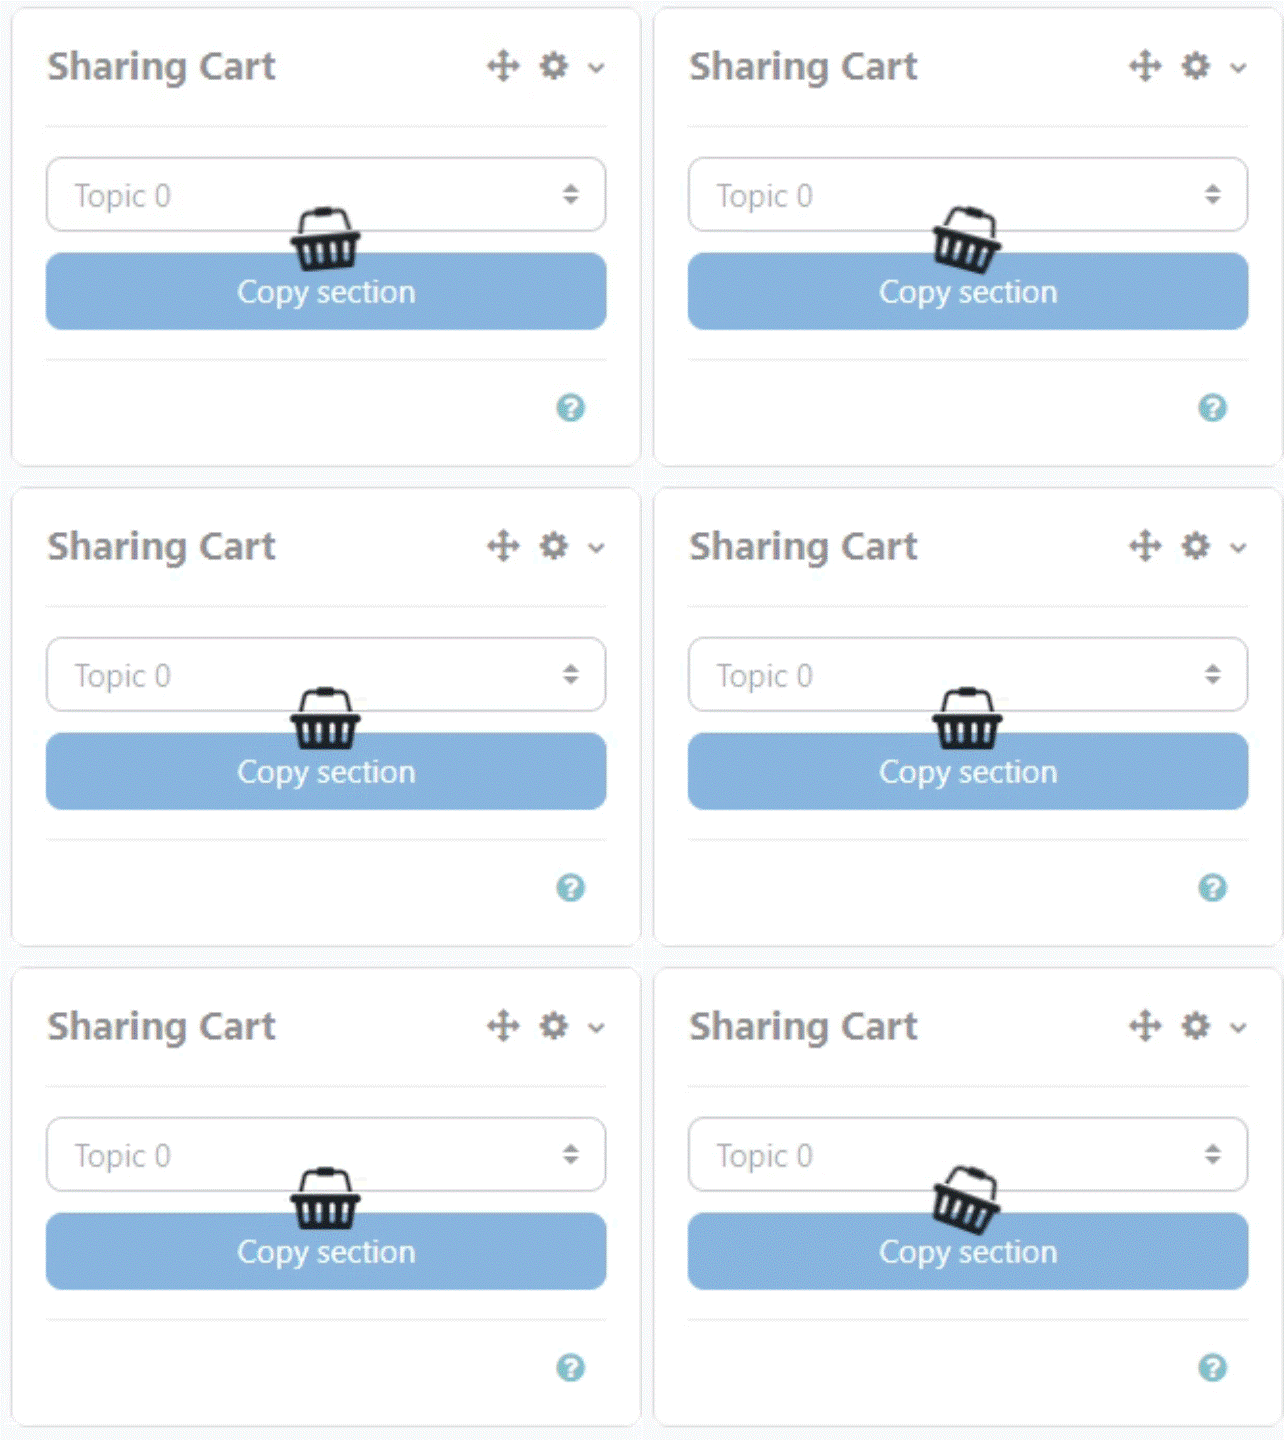
Please note: The process of copying an item/topic may take several minutes. During the process time, the basket icon in the sharing box moves

3. A copy of the resource/activity will be created in the sharing box. The user data will be removed, only the activity itself will be copied.

Import the item to another course
1. To import items to another course, add the “Sharing Cart" block to the course you want to import to.
2. In the target course, click on the "Copy to course" icon next to the relevant item.

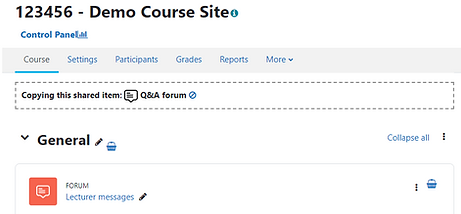
3. A “Copying this shares item:..” will appear at the top of the course page

4. Dotted boxes will appear at the bottom of each topic.
Choose the location where you want to place the item, click on the arrow in the center of the dotted box and the item will be copied there directly.

Please note: The process of copying an item/topic may take several minutes. During the process time, the basket icon in topic box moves.
Arrange items in the “Sharing Cart" block
Arranging and organizing items options:
Delete: click the “Delete” icon (trash icon) next to the item you want to delete.
Note, deleting item from the block dose not delete or change items in the courses.

Arrange items order: click the “Move” icon (vertical arrow icon) to arrange items order

Create folders: click on the “Move to folder” (right arrow icon), in the in the text box write the name of the folder and click Enter to finish or the “no entry” icon to cancel.


By clicking on the “move to folder” icon in another resource, you can choose to move to an existing folder or create another new folder.
